25 Sep 2025
How to Install a Roof Drainage Pipe?
Ever noticed water pooling on your roof after heavy rain or stains spreading across your ceiling? That is your home telling you something is wrong. Poor roof drainage pipe is not just a nuisance, it is a silent threat. If left unchecked, it can cause mould, weaken your roof, damage your walls and even affect your home’s foundation.
Whether you are a hands-on homeowner or a contractor looking to get it right, installing a roof drain pipe properly is one of the smartest ways to prevent long-term damage and avoid costly repairs. This guide breaks it down step by step, so you know exactly what to do and what to watch out for.
What Is a Roof Drainage Pipe?
A roof drainage pipe is a vertical conduit that channels rainwater from roof gutters down to ground level or drainage systems. These roof pipes, commonly known as downpipes or rainwater pipes, form an integral part of your property’s rainwater management system.
They work in conjunction with gutters to collect water from the roof surface and direct it safely away from the building’s foundation. Modern roof drainage pipes are typically made from materials such as uPVC, cast iron, aluminium, or galvanised steel, each offering different benefits in terms of durability, cost, and aesthetic appeal. A properly installed roof pipe ensures efficient water flow and prevents structural damage to your property.
Tools and Materials Required for Roof Drainage System
Before beginning your installation, gather the necessary tools and materials to ensure a smooth process.
- Essential tools include a drill with masonry bits, a spirit level, a measuring tape, a hacksaw or pipe cutter, a pencil for marking, ladder or scaffolding for safe access and a screwdriver set.
- Materials needed comprise the roof pipe sections (typically 68mm or 75mm diameter), pipe brackets and fixings, gutter outlet connector, pipe joints and bends, shoe or outfall fitting for ground connection, wall plugs and screws suitable for your wall type and weatherproof sealant.
- Safety equipment is paramount and should include a hard hat, safety harness when working at height, non-slip footwear and high-visibility clothing.
- Always ensure your ladder is stable and consider professional installation for complex or high-level roof drainage system work.
How to Install a Roof Drain Pipe?
Follow this step-by-step guide to clearly understand the actions to take and the mistakes to avoid:
Step 1: Planning and Measurement
Begin by measuring the vertical distance from the gutter outlet to the ground connection point. Mark the roof pipe route on the wall, ensuring it follows the most direct path whilst avoiding obstacles like windows or architectural features. Plan bracket positions approximately every 1.8 metres along the pipe run.
Step 2: Install the Gutter Outlet
If not already present, fit the gutter outlet connector to your existing gutter system. This requires cutting a hole in the gutter and securing the outlet with appropriate sealant and fixings.
Step 3: Mark Bracket Positions
Using a spirit level and measuring tape, mark bracket positions on the wall. Start from the top and work downwards, ensuring each bracket is level and properly aligned with the intended roof pipe route.
Step 4: Drill and Fix Brackets
Drill pilot holes at marked positions using appropriate masonry bits. Insert wall plugs and securely fix brackets using corrosion-resistant screws. Ensure all brackets are firmly attached and capable of supporting the roof pipe’s weight when full of water.
Step 5: Install Pipe Sections
Cut roof pipe sections to the required lengths using a hacksaw or pipe cutter. Start from the top, connecting the first section to the gutter outlet and working downwards. Secure each section in its respective bracket, ensuring proper alignment and secure connections at joints.
Step 6: Add Ground Connection
Install the shoe or outfall fitting at the bottom of the roof pipe system, directing water away from the building’s foundation into a suitable drainage point or soakaway system.
Astral Rainway: Advanced Roof Drainage System
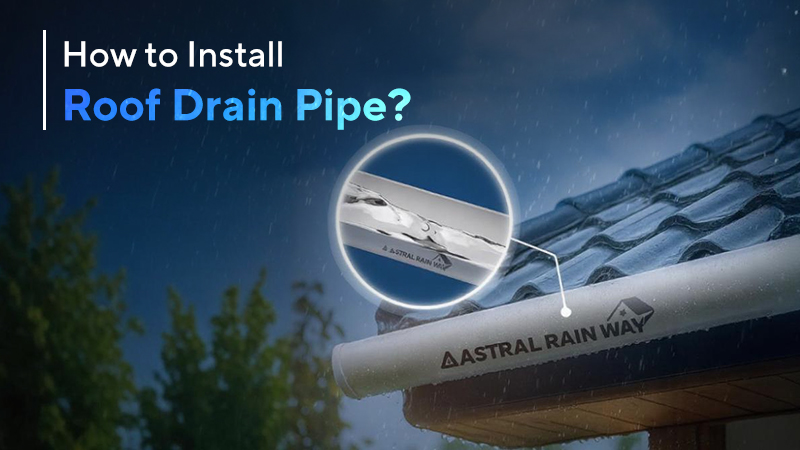
Astral Rainway is a high-performance uPVC roof drainage system designed to manage rainwater efficiently. Its unique half-cut design provides a larger surface area for water collection, reducing wastage and improving flow. Installed along the roof’s edges, Rainway pipes and fittings channel water effectively, preventing overflow, seepage and structural damage. Built for durability and weather resistance, Astral Rainway protects your roof and walls and supports sustainable rainwater management. By efficiently directing rainwater away from the foundation, it safeguards your property’s structure and reduces reliance on freshwater supplies.
Common Mistakes to Avoid When Installing Roof Drain Pipes
Several common errors can compromise your roof drainage system’s effectiveness:
- Inadequate bracket spacing can cause roof pipe sagging and potential failure during heavy rainfall
- An incorrect pipe gradient may result in poor water flow and potential blockages
- Using incompatible materials can lead to corrosion and premature system failure
- Insufficient ground clearance at the pipe bottom can cause water to splash back against walls, potentially causing dampness issues
- Poor joint sealing allows water leakage, which can damage the building fabric over time
- Improper pipe sizing for your roof area and local rainfall intensity can prevent system overload during severe weather conditions
Installing a roof drain pipe requires careful planning, appropriate tools and attention to detail. Following these steps will help ensure your roof drainage system functions effectively for years to come. Remember that proper installation prevents costly water damage and maintains your property’s structural integrity.
If you encounter complex situations or feel unsure about any aspect of how to install roof drain pipe, consider consulting a professional roofer or drainage specialist. Regular maintenance and inspection of your completed system will ensure optimal performance and longevity.


